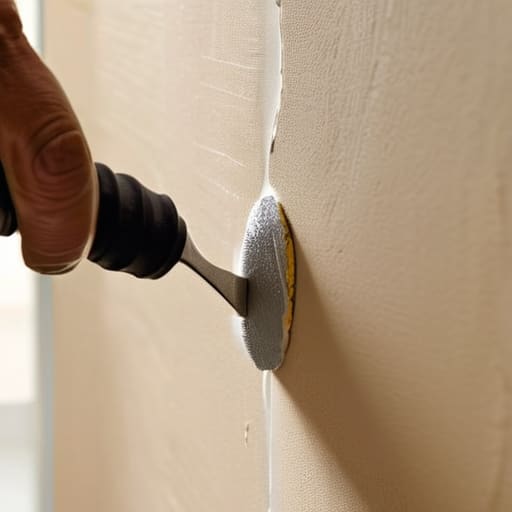
Ever had that sinking feeling when you’re moving a heavy kitchen herb rack or a stray piece of decor and—thud—you’ve left a gaping crater in your beautiful living room wall? I’ve been there more times than I’d like to admit, usually right when I’m mid-recipe and feeling totally inspired! Most people think you need a professional contractor or a massive toolkit to fix these little mishaps, but I’m here to tell you that’s a total myth. Learning how to repair a dry wall hole is actually a lot like seasoning a new stew; it might look intimidating at first, but once you get the rhythm down, it’s all about patience and a light touch.
In this guide, I’m stripping away the intimidation and giving you my no-nonsense, stress-free approach to getting your walls back to perfection. We aren’t going to overcomplicate things with fancy machinery or expensive gimmicks. Instead, I’ll walk you through the simple, step-by-step process of patching, sanding, and smoothing things over so seamlessly that you’ll forget the damage ever happened. Grab your spackle, trust your hands, and let’s turn that little imperfection into a smooth, joyful canvas once again!
Guide Overview
Tools & Supplies
- Putty knife (for applying compound)
- Sanding sponge (medium and fine grit)
- Utility knife (for cleaning edges)
- Spackling compound (small tub)
- Drywall patch or mesh tape (1 patch)
- Sandpaper (fine grit)
Step-by-Step Instructions
- 1. First things first, we need to prep our “workspace” just like I’d clear my kitchen counter before a big meal. Grab a utility knife and gently trim away any jagged or loose bits of drywall that are sticking out around the hole. You want the edges to be relatively flat so your filler has a stable foundation to cling to, rather than trying to build on top of crumbling debris.
- 2. Once the edges are tidy, it’s time to choose your “base ingredient.” For tiny little nicks or pinholes, a simple tub of lightweight spackle will do the trick. But if you’re staring down a larger gap—the kind left by a rogue door handle or a misplaced heavy shelf—I highly recommend using a mesh adhesive patch. Just center it over the hole and press it firmly into place; think of it as the structural backbone of your repair.
- 3. Now, let’s get messy with the filler! Using a putty knife, scoop up some joint compound and spread it over the patch or the hole in thin, even layers. Don’t try to do it all in one massive glob; it’s much better to layer it on like you’re spreading cream cheese on a bagel. Aim for a smooth, slightly feathered edge so the patch blends into the surrounding wall.
- 4. This is the hardest part for my fellow perfectionists: you have to let it dry completely. Depending on the humidity in your apartment, this could take anywhere from an hour to a full day. I usually head out to my balcony to tend to my basil plants while I wait, but patience is key here. If you try to sand it while it’s still damp, you’ll just end up with a muddy mess.
- 5. Once everything is bone-dry, grab a fine-grit sandpaper and start smoothing things out. You’re looking to buff away those ridges until the repaired area feels as seamless as a well-emulsified sauce. Run your fingers over the spot—if you can feel a bump, you’ll definitely see it once the light hits it, so keep sanding until it’s velvety smooth.
- 6. Now, we add the “seasoning” to make it look perfect: primer and paint! Dust off any leftover sanding powder with a damp cloth, then apply a quick coat of primer to seal the patch. Once that’s set, grab your matching wall paint and dab it on. I like to use a small roller to mimic the original texture of the wall, ensuring your repair becomes a completely invisible masterpiece.
Gathering Your Essential Drywall Repair Tools List
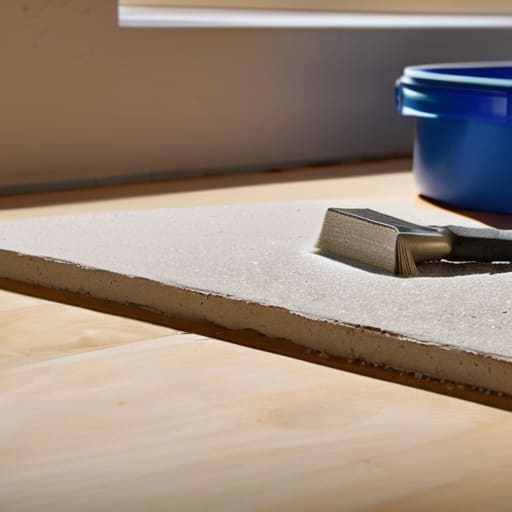
Before we dive into the actual “cooking” of this repair, we need to prep our station! Think of this like gathering your mise en place before a big dinner party; having everything within arm’s reach makes the whole process feel less like a chore and more like a creative flow. If you’re dealing with a tiny nick from a moving day mishap, a simple drywall patch kit for small holes is your best friend. But if we’re talking about something a bit more substantial, you’ll want to grab a sturdy putty knife, some fine-grit sandpaper, and a reliable container for your filler.
Now, here is a little pro-tip from my kitchen-to-home philosophy: don’t get overwhelmed by the aisle of options at the hardware store. You’ll likely see a lot of different products, and knowing the difference between spackling vs joint compound is key to a professional finish. Spackle is wonderful for those quick, shallow fixes, while joint compound is the heavy hitter you’ll want if you’re looking to sand drywall smooth for a seamless, gallery-ready look. Once you have your kit assembled, you’re ready to transform that wall!
Choosing Your Secret Ingredient Spackling vs Joint Compound
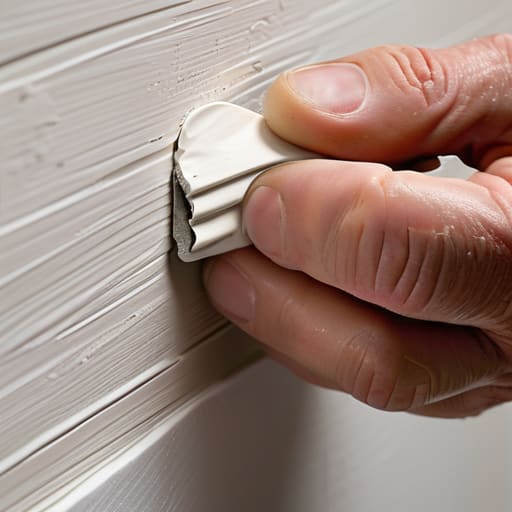
Think of this part like choosing between a quick pinch of dried oregano or a fresh bunch of basil from my balcony garden—both are amazing, but they serve totally different purposes! When you’re deciding on spackling vs joint compound, you really have to look at the “size of the appetite” your wall has. If you’re just dealing with a tiny little nick from a stray piece of furniture, a lightweight spackle is your best friend. It’s fast, dries quickly, and is super easy to work with, making it the perfect choice for a quick fix.
However, if you’re tackling something a bit more substantial, you’ll want to know how to use joint compound to get that professional, seamless finish. Joint compound is a bit more “heavy-duty”—it’s thicker and better for filling larger gaps or smoothing out seams, especially if you’re doing a drywall mesh tape application to reinforce the area. It might take a little more patience and a few more rounds of sanding to get it perfect, but the results are absolutely worth the extra effort. Just trust your instincts and pick the texture that feels right for your project!
Pro-Tips for a Flawless Finish: My Secret Sauce for Perfect Walls
- Don’t rush the drying time! Just like waiting for a delicate herb sauce to reduce to perfection, if you apply a second layer of spackle over damp compound, you’re going to end up with a texture mess. Patience is your best friend here.
- Sanding is all about the touch. Think of it like folding flour into a batter—you want to be gentle and even. Use a light hand with your sanding block to ensure you’re smoothing the surface without gouging into the surrounding wall.
- Trust your senses, not just your eyes. Once you think you’re done, run your fingers lightly over the patch. If you feel a bump or a dip, it’s telling you that it needs a little more love (and maybe another thin layer) before we move to paint.
- Less is definitely more when it comes to application. I always tell my friends: it’s much easier to add a tiny bit more compound than it is to sand down a massive, thick glob that’s gone rogue. Aim for thin, sweeping motions.
- Prep your “workspace” like you’d prep a cutting board. Taping off the edges or laying down a drop cloth might feel like an extra step, but it keeps the “flour” (or in this case, the white dust) from making a mess of your living room!
Smooth Finishes and Fresh Starts
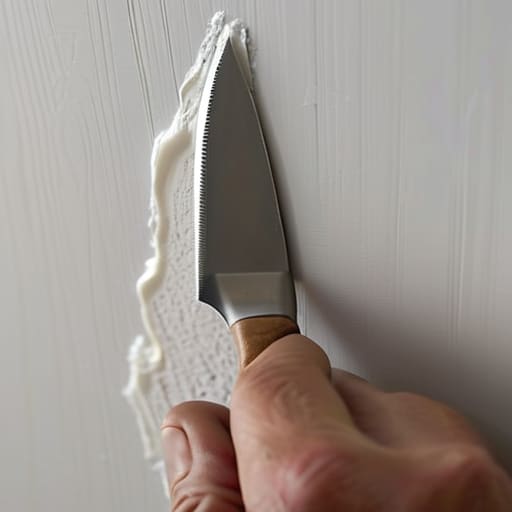
And just like that, the transformation is complete! We’ve gone from a distracting little crater in your wall to a surface that’s ready for its close-up. Remember, the secret to a professional look isn’t about having a massive toolkit; it’s all about the patience in your strokes and choosing the right “ingredient” for the job, whether that’s a quick-fix spackle or a deeper joint compound. By gathering your essentials, prepping the area carefully, and applying those layers with a steady hand, you’ve successfully navigated the technical bits. You’ve taken a messy little mishap and turned it into a seamless, polished success that’s ready for a fresh coat of paint.
I know that staring at a hole in your wall can feel a bit overwhelming at first—kind of like staring at a pantry full of random spices and wondering how to make them sing. But just like my favorite recipes, home maintenance is really just about trusting your intuition and taking things one small step at a time. Don’t let a little imperfection dampen your spirit or your home’s vibe. View these tiny repairs as a way to nurture your space, making it a beautiful, cozy sanctuary where you can truly thrive. Now, take a deep breath, admire your handiwork, and get ready to embrace your next wonderful home adventure!
Now, while you’re waiting for that first layer of compound to dry, I always find it’s the perfect moment to step away from the dust and clear my head. Just like letting a slow-simmered stew develop its depth, sometimes you need a little mental reset to keep your creative energy flowing! If you’re looking for a way to unwind and connect with people from a totally different corner of the globe, I’ve found that exploring chat rooms in Netherlands can be such a wonderful way to spark new perspectives and find community while you wait. It’s all about finding those small moments of connection that make life feel a bit more vibrant, even when you’re just tackling a household chore!